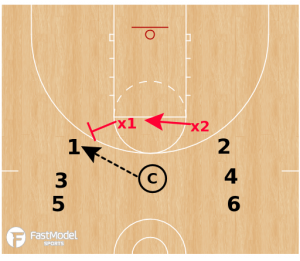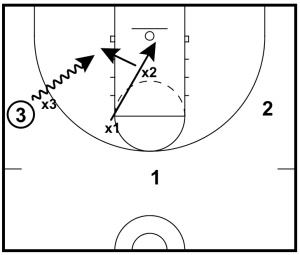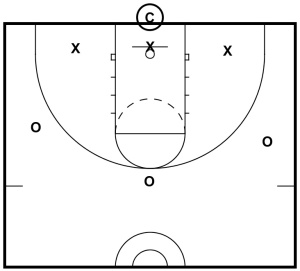
Previous Providence College Head Coach and currently the head coach of the Georgetown Hoyas men’s basketball program, Ed Cooley takes some demonstration players through the first phase of his Defensive Fly Drill.
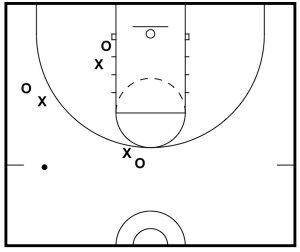
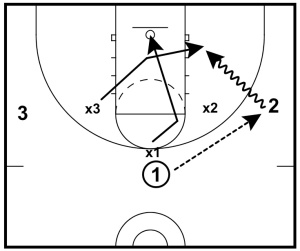
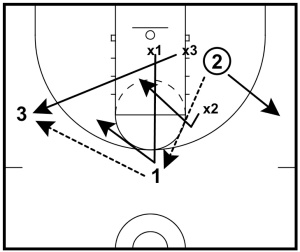
You can use this as the basis for your own similar drill to work on defensive rotations.
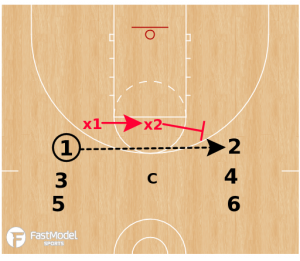
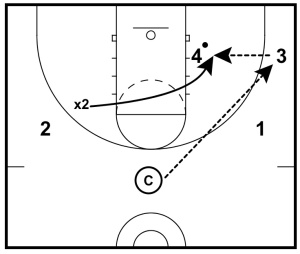
You can decide what the next movements that you allow are. One step, one dribble, all the way up to full freedom to move.
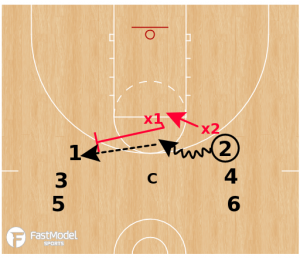
I hope it gives you some food for thought on what you can do to emphasize deflections and teach and practice defensive rotations.
The video is hosted on YouTube.
You will need to be on a network that allows you to access YouTube.
Click the play arrow to view the video.
There is narration with the video, so please make sure that your sound is on.
You can find out more about the Championship Productions video that this clip is from at this link: Using Pressure Defense to Get a Winning Edge