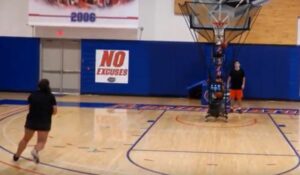
This shooting drill is provided by Dr. Dish Basketball.
The drill is from Georgia Men’s Coach Mike White’s drill book.
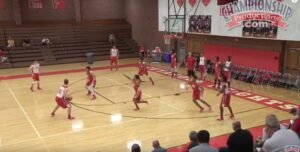
You could always add a defender closing out on the second ball to allow the player attacking the close out to make a read.
Please make sure your sound is on to see the video.
This drill is hosted on YouTube, so you will need to be on a server that allows you to access YouTube to see the drill.
Click the play arrow so see the drill.